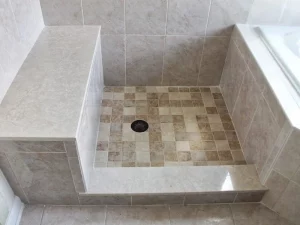
How To Install Ceramic Tile
In this video, we will discuss how to install ceramic tile on a concrete or terrazzo floor. This process is relatively simple, but it requires specific tools to ensure a proper installation. Brad, from Home Love Construction, provides a step-by-step guide on how to install ceramic tiles successfully.
Before beginning the installation process, there are a few tools you will need. Brad recommends a margin trowel, tile snap cutters, a grinder, and two or three buckets, one filled with water and one with a thinset. Additionally, the size of the margin trowel should be half an inch by half an inch, depending on the size of the tile you will be using.
To start the installation, you will create a 12-24-36 stair step pattern using the tiles. This means that the tiles will be arranged in a staggered pattern to create a visually pleasing design. You will need to put your cuts on the wall’s cut side, which will be covered by the baseboard. Whenever there is a cut on the wall, you will need to measure it, trace it with a pencil, and use the grinder to cut it.
When setting tiles, it is essential to keep your workspace as clean as possible. It is also important to be aware of the open time that the thinset has, which is approximately ten to fifteen minutes. Once the thinset is spread on the floor, it will set up within that time. Brad suggests cleaning off any excess thinset from the tile after it has been placed.
Next, you will use the flat side of the trowel to spread the thinset evenly on the floor. Once you feel like you have enough, you can start to draw lines using the trowel. The lines should be in the same direction, and you should aim to have them all collapse in one direction once the tile is laid. This is important as it ensures that the tiles will be level once placed.
Before spreading the thinset, you will want to have your leveling clips in place. These clips will ensure that the tiles are level with one another. Brad recommends using two points of contact between any two tiles to help collapse the lines. This ensures that there is no significant lip between the tiles. You can use a T4 space room to help with this process.
Once the leveling clips are in place, you can start to lay the tiles. You should aim to have the tiles flush with one another, and the leveling clips will help to ensure that they are level. Brad demonstrates how to snap the leveling clips into place once the tiles are laid.
Finally, once the installation is complete, Brad suggests liking the Home Love Construction Facebook page. By doing so, you will have access to valuable tips and advice for homeowners. Additionally, Brad is working to build out the company’s Instagram page, and he invites viewers to follow Home Love Construction on Instagram as well.
In conclusion, installing ceramic tiles on a concrete or terrazzo floor is a simple process that requires specific tools to ensure a successful installation. Brad’s step-by-step guide provides an excellent starting point for those looking to install ceramic tiles. By following these guidelines, you can create a visually stunning floor that is both functional and durable.

 Previous Post
 Next Post


